Tractor Starter Replacement: How to Diagnose, Buy the Right Part, and Do It Yourself
Tractor starter replacement is one of those jobs that looks intimidating until you’ve done it once — and then you wonder why you ever paid a shop $450 to do it for you. With repair costs up across the board and parts prices climbing due to tariffs hitting agricultural equipment supply chains hard in 2025, this is exactly the kind of job worth learning to do yourself. This article walks through how to know when you actually need a new starter, how to buy the right one, and where most people get stuck on the actual swap.
How to Know You Actually Need a Tractor Starter Replacement
Before you order a part, make sure the starter is actually the problem. This is where a lot of money gets wasted.
The most reliable symptom of a failing starter is a grinding noise when you turn the key — that’s the starter drive gear failing to engage cleanly with the flywheel ring gear. It might happen every time, or it might be intermittent at first and get worse over the weeks. Either way, it’s not going away on its own.
The symptom that trips people up the most — and comes up constantly on TractorByNet — is a starter that only fires when you tap it with a hammer. That’s not a bad motor. That’s a failing starter drive, also called a Bendix drive, where the internal mechanism that extends the gear into the flywheel is sticking. Same fix — new starter — but knowing what’s actually happening helps when you’re explaining it to a parts counter.
What you don’t want to do is replace the starter when the real problem is something else. If you turn the key and get nothing — no click, no crank, no dash lights — start with the battery and ground connections first. A dead battery or a corroded ground strap mimics a bad starter perfectly. Grab a multimeter and check the voltage at the battery terminals before you pull anything apart. If your battery is borderline, a battery charger and maintainer will tell you whether it’s holding a charge or just needs to be replaced.
If the battery checks out and you’re getting a single hard click when you turn the key, that’s usually the starter solenoid — which on most tractors is either mounted on the starter itself or sits nearby on the firewall. Test the solenoid before replacing the whole starter assembly. For a deeper walkthrough on electrical no-start issues, see our guide on John Deere tractor won’t start — the diagnostic steps apply to most utility tractors regardless of brand.
The Access Problem Nobody Warns You About
Here’s what the YouTube videos leave out: the hardest part of a tractor starter replacement usually isn’t the starter itself — it’s getting to it.
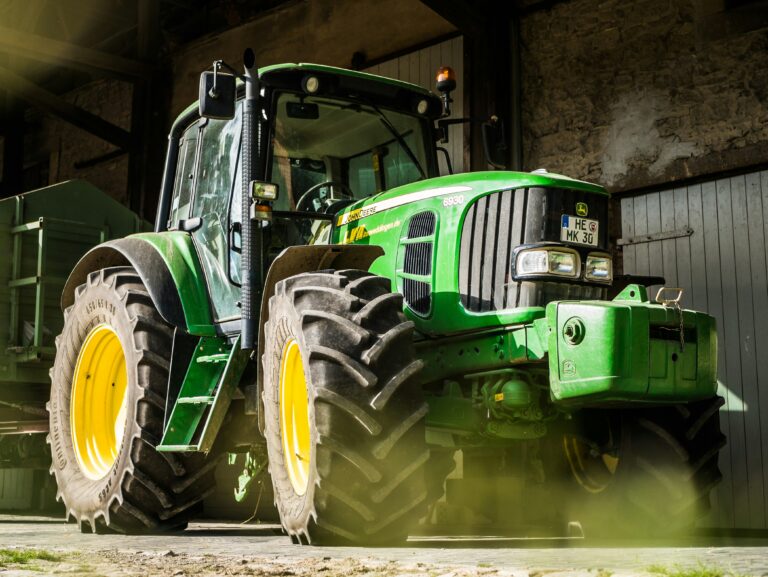
On most utility tractors, the starter sits bolted tight to the engine block on the lower right side, right up against the bellhousing. The front bolt comes out without much trouble. The rear bolt is a different story. Depending on your model, it may be partially blocked by the exhaust pipe, a coolant line, a hydraulic hose, or the frame itself. On some Kubota and John Deere compact models, you physically cannot get a socket on that rear bolt without either removing a heat shield, loosening a bracket, or coming at it from underneath with a long extension and a universal joint.
Farmers on MyTractorForum regularly describe spending 20 minutes on the starter swap itself and two hours getting the rear bolt out. That’s the job. Budget your time accordingly, get under the tractor before you order parts to see exactly what you’re dealing with, and have a flex-head ratchet or a long extension on hand. PB Blaster penetrating oil on both bolts the night before goes a long way if the tractor has any age on it.
OEM vs. Aftermarket — This Decision Matters More Than You Think
The OEM vs. aftermarket question matters more on starters than almost any other tractor part. A cheap starter that fails six months later means pulling the whole thing again — and on some models, that’s a real ordeal.
The brands that consistently get recommended on the forums are DB Electrical, Remy, and Denso. DB Electrical in particular has a strong following on TractorByNet for John Deere and Kubota applications — they’re not the cheapest option,n but they’re built to spec, and they hold up. Avoid the no-name imports that show up as the cheapest option on the major parts sites. The $40 savings isn’t worth doing the job twice.
For cross-referencing: pull your tractor’s serial number and model, then use your dealer’s parts lookup or TractorData.com to get the OEM part number. From there, ere you can find aftermarket equivalents. Getting the tooth count on the drive gear right matters — put the wrong gear count against your flywheel ring, gear, and you’ll be back to square one.
What This Means For You — The Real Cost Comparison
A shop charges $450–$650 for a tractor starter replacement once you factor in labor, shop fees, and markup on the part. The starter itself — a quality aftermarket unit for a John Deere or Kubota utility tractor — runs $80–$180 depending on the model. The job takes about 90 minutes once you’ve done it once, maybe two to three hours the first time.
That’s $200–$300 back in your pocket for an afternoon of work. With machinery-related costs up roughly 25% since 2021, according to University of Illinois farm management data, and tariffs continuing to push parts prices higher, the farmers who know how to do their own electrical work are going to have a real advantage over the next few years.
The tools you need: a metric socket set, a ratchet with a long extension, a universal joint adapter, a multimeter for confirming the diagnosis, and nitrile gloves because starters come out greasy. Keep a pack of shop towels close by — you’ll need them.
Tractor Starter Replacement — Step by Step
Once you’ve confirmed the starter is the problem and you’ve got the right replacement in hand, the swap itself is straightforward:
- Disconnect the battery — negative cable first, always.
- Locate the starter on the lower engine block, driver’s or passenger’s side, depending on your model.
- Label or photograph the wiring connections before removing anything. Most starters have two connections: a heavy positive cable and a small trigger wire to the solenoid.
- Remove the wiring connections.
- Break loose the rear bolt first — this is the hard one. Get your extension and universal joint on it before you remove the front bolt, while the starter is still held in place.
- Remove the front bolt.
- Work the starter out — it may take some maneuvering depending on how tight the space is.
- Install the new starter in reverse order. Snug the rear bolt first, then the front. Don’t overtighten — you’re threading into an aluminum block on most modern tractors.
- Reconnect the wiring.
- Reconnect the battery — positive first this time.
- Test before buttoning everything back up.
If you’re seeing any corrosion on the wiring connections while you’re in there, hit them with dielectric grease before reassembly. Electrical corrosion is what causes a lot of these problems in the first place on older machines. While you have the tractor up and accessible, it’s also a good time to check your John Deere maintenance schedule or Kubota maintenance checklist and knock out anything overdue.
FAQ
How do I know if my tractor starter is bad or if it’s something else? The clearest sign is a grinding noise when you turn the key, or a starter that only works when you tap it. If you get nothing at all — no click, no sound — check your battery and ground connections first. A dead battery or corroded ground cable will do the same thing as a failed starter. See our full guide on John Deere tractor won’t start for a complete diagnostic walkthrough.
What’s the best aftermarket tractor starter brand? DB Electrical, Remy, and Denso are the most consistently recommended brands on the tractor forums. They’re built to OEM specs and hold up well. Avoid the cheapest no-name options — a starter that fails in six months means doing the whole job again. Use TractorData.com to look up your OEM part number before buying.
How long does a tractor starter replacement take? Plan on 90 minutes to two hours the first time. The starter swap itself is quick — the time goes into accessing the rear mounting bolt, which can be partially blocked by exhaust components, hoses, or the frame, depending on your model. Get under the tractor first to see what you’re dealing with before you start.
What’s your take on this? Drop it in the comments.