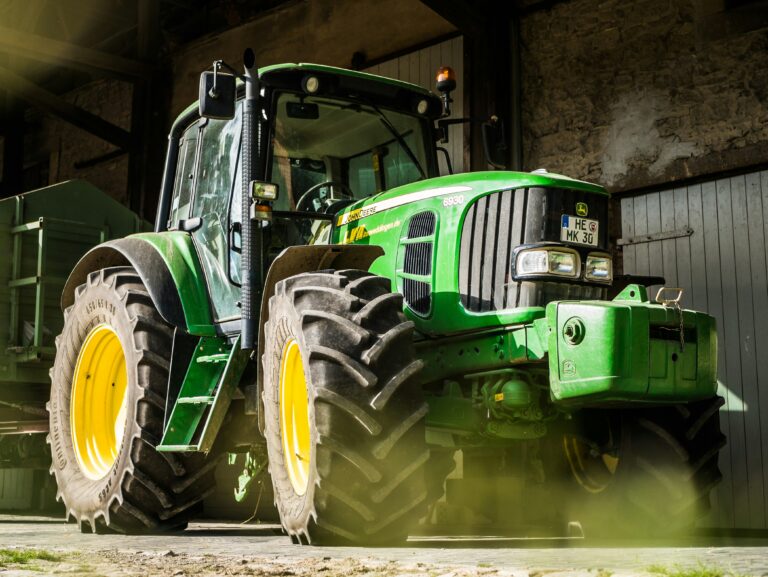
John Deere Tractor PTO Shaft Repair: How to Diagnose and Fix Common Problems
If your John Deere tractor PTO shaft repair is giving you trouble, whether you’re running a feed mixer, brush hog, or tiller. This article walks through the most common PTO shaft problems, how to diagnose them, and how to fix them yourself.
Specs at a Glance — John Deere 3025E (Reference Model)
| Spec | Detail |
|---|---|
| Engine | Yanmar 1.6L 3-cylinder diesel |
| PTO Type | Independent, 540 RPM (1.375″ 6-spline) |
| Engine RPM at 540 PTO | 2,500 RPM |
| PTO Power (claimed) | 17.4 hp |
| Hydraulic System | Open center, 5.3 gpm pump flow |
Source: TractorData.com. Confirm specs for your specific model in the operator’s manual.
Tools and Parts You May Need
- Penetrating oil (PB Blaster or Kroil — not WD-40)
- Pistol grip grease gun with LockNLube coupler and general-purpose lithium grease
- Hammer and punch set
- Snap ring pliers
- Vice or bench press
- Replacement U-joint (match to your shaft series)
- Safety glasses and nitrile gloves
Step One: Figure Out What’s Actually Wrong
Before you touch anything, get clear on what the shaft is doing — or not doing. PTO problems fall into a few categories:
- The shaft spins, but the implement doesn’t respond — likely a failed U-joint or slip clutch issue
- The shaft won’t turn at all — possible seizure of the telescoping section or a locked-up joint
- The shaft vibrates badly or clunks under load — worn or failing U-joints
- The shaft won’t connect to or disconnect from the tractor — rust or debris at the coupling
Knowing which symptom you’re dealing with tells you where to start.
Start With Lubrication — It Fixes More Than You Think
Before assuming you need parts, check whether the shaft has been greased recently. The telescoping section of a PTO driveline has a grease zerk specifically because it needs regular lubrication. If that section runs dry, it develops surface rust and grime that gradually locks the two halves together. What starts as stiff sliding eventually becomes a shaft that won’t move at all.
Pump John Deere lithium grease into the zerk on the telescoping tube until you see fresh grease working out around the slip joint. Then, manually work the shaft in and out a few times to distribute it. A recurring topic on GreenTractorTalk threads involving the 3025E is the tractor-end coupling being dry or corroded, which prevents the shaft from seating or releasing correctly — keeping that coupling clean and lightly lubed solves the problem before it starts.
Do this every 8–10 hours of use, or at the start of every working season at a minimum. It’s a five-minute job that prevents most PTO shaft problems entirely.
Seized Telescoping Shaft — How to Free It Up
If the shaft is fully locked and won’t budge, you’re dealing with rust or dried debris bonding the inner and outer tubes together. This is one of the most common PTO problems on equipment that sits between seasons without being greased.
Stand the shaft upright if possible and soak the slip joint heavily with penetrating oil. PB Blaster and Kroil both work well — WD-40 is not a penetrating oil and won’t get deep enough to do the job. Let it soak for several hours, or overnight if you can. Then soak it again and begin working the shaft gently, twisting slightly as you pull. A common recommendation on MyTractorForum is to raise and lower the implement while slowly rotating the shaft to help work the penetrating oil through the full length of the slip joint — that extra movement makes a real difference on a shaft that’s been stuck for a while.
Once you get it apart, clean both the inner and outer surfaces thoroughly. Any rust, scale, or dried grease needs to come off before you reassemble. When putting it back together, make sure the male and female portions align correctly — the tubes are shaped to fit one way, and forcing them in the wrong orientation causes binding and premature wear. After cleaning and reassembly, grease it properly and work it through its full range of motion before putting it back to work.
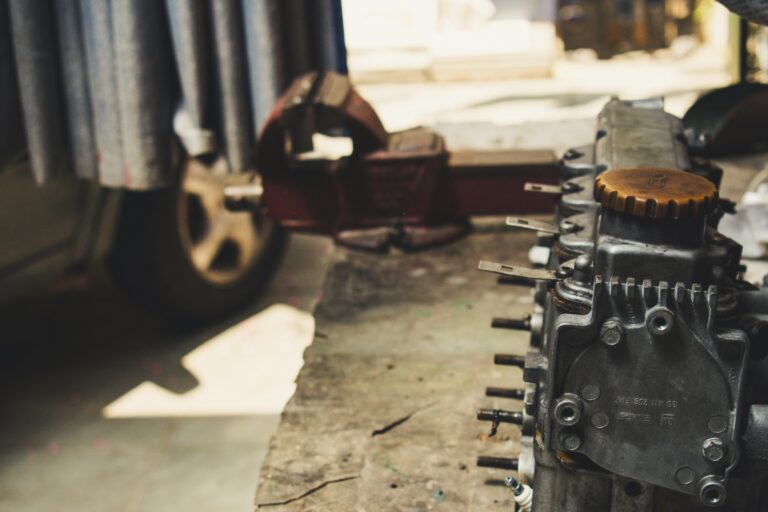
Blown U-Joints — The Most Common Repair
U-joints take a beating. They run at 540 RPM under load, often at angles, and they’re frequently the first thing to fail on a hard-used PTO shaft. A common report on GreenTractorTalk is that U-joint failures on JD compact tractors tend to show up suddenly mid-task with little warning — one minute the implement is running fine, the next it’s completely stopped. Owners on that forum noted that the joint on a 1025R lasted over 10 years before failing, which is a good reminder that these parts do eventually wear out, even with proper care.
Signs of a failing U-joint before it lets go completely: clunking or knocking when the PTO engages, vibration that wasn’t there before, or visible play when you grab the joint and wiggle it. A multimeter and OBD2 scanner will help identify any electrical fault codes thrown during PTO engagement issues.
To replace a U-joint:
- Remove the shaft from the tractor and implement
- Pull the snap rings out of the yoke bores
- Use a punch and hammer — or a bench press — to drive the bearing caps out of the yoke
- Remove the old cross and caps completely
- Install the new cross, pressing each cap in squarely until the snap ring groove is exposed, then seat the snap rings.
One critical detail on reassembly: the U-joints at each end of the shaft need to be in phase — the yokes on each end must be aligned in the same plane. An out-of-phase shaft will vibrate badly and destroy the new joints quickly. Most telescoping shafts are shaped so they can only go together correctly, but if yours has been apart before, double-check alignment before closing it up.
If the yoke itself is worn or damaged, the new U-joint won’t seat right. At that point, replacing the shaft half or the whole assembly is the smarter call. A complete replacement shaft from Tractor Supply typically runs $200–$300 and often makes more sense than fighting worn components. Owners on GreenTractorTalk have noted that OEM shaft pricing from the JD dealer on the 3E series can be steep — aftermarket shafts from agricultural driveline suppliers are a widely used and practical alternative.
Checking the Slip Clutch
Most PTO driveshafts have a slip clutch built in — a safety device designed to absorb shock if the implement stalls or hits a hard object, rather than transmitting that force back into the tractor’s PTO. If the slip clutch has never been serviced or the tractor sat unused for a season, the clutch plates can rust together and seize.
A locked slip clutch defeats its entire purpose. Instead of protecting the drivetrain, it passes full shock loads straight through. If you suspect it’s frozen up, the clutch can usually be disassembled, cleaned, and reassembled with fresh grease on the friction surfaces. In bad cases, replacement is the better option.
When the Shaft Is Too Short or Too Long
Shaft length matters more than most people realize. If the PTO shaft is too short, the two telescoping halves can pull apart under load, and a driveshaft separating at 540 RPM is dangerous. If it’s too long, it can bottom out when the implement is lowered, binding the shaft and putting stress on the implement gearbox and tractor stub shaft.
A recurring issue on TractorByNet is owners cutting a shaft to length and accidentally taking off too much, leaving insufficient overlap between the two halves. As a general rule, the shaft halves should overlap by at least 6 inches at maximum extension and should not bottom out at minimum extension. Check both ends of the travel range before running the implement, especially on a shaft that’s new to you or has been modified.
Reassembly Checklist
Before putting the shaft back in service:
- Male and female shaft sections are aligned and properly seated
- All snap rings are fully seated in their grooves
- Telescoping section greased through the zerk fitting
- U-joint zerks are greased if present on your shaft style
- Safety shield reinstalled and secured — never run a PTO shaft without it
- Shaft length verified at both full extension and full compression
Keep shop towels on hand for cleaning shaft surfaces before reassembly.
The PTO shaft looks like a simple piece of equipment, but the details matter. Stay on top of greasing, catch U-joint wear early, and most repairs stay manageable. Let a seized shaft or a failed joint go too long, and you risk damaging the implement gearbox or the tractor’s output shaft — repairs that cost significantly more than a tube of grease or a replacement U-joint. If your tractor won’t start after a PTO-related issue, see our guide on a John Deere tractor that won’t start.
Have a different symptom? Drop it in the comments.